Kimono Slipper Tutorial
By Lauren Mackey
Materials Needed:
Pattern ( Cut to fit you. I have added a size conversion and measurement chart at the end.)
1/4 Yard Outer Material (I used canvas)
1/4 Yard Inner Material (I used fleece)
Optional: Lace/Ribbon, Puffy Paint, other things to decorate with.
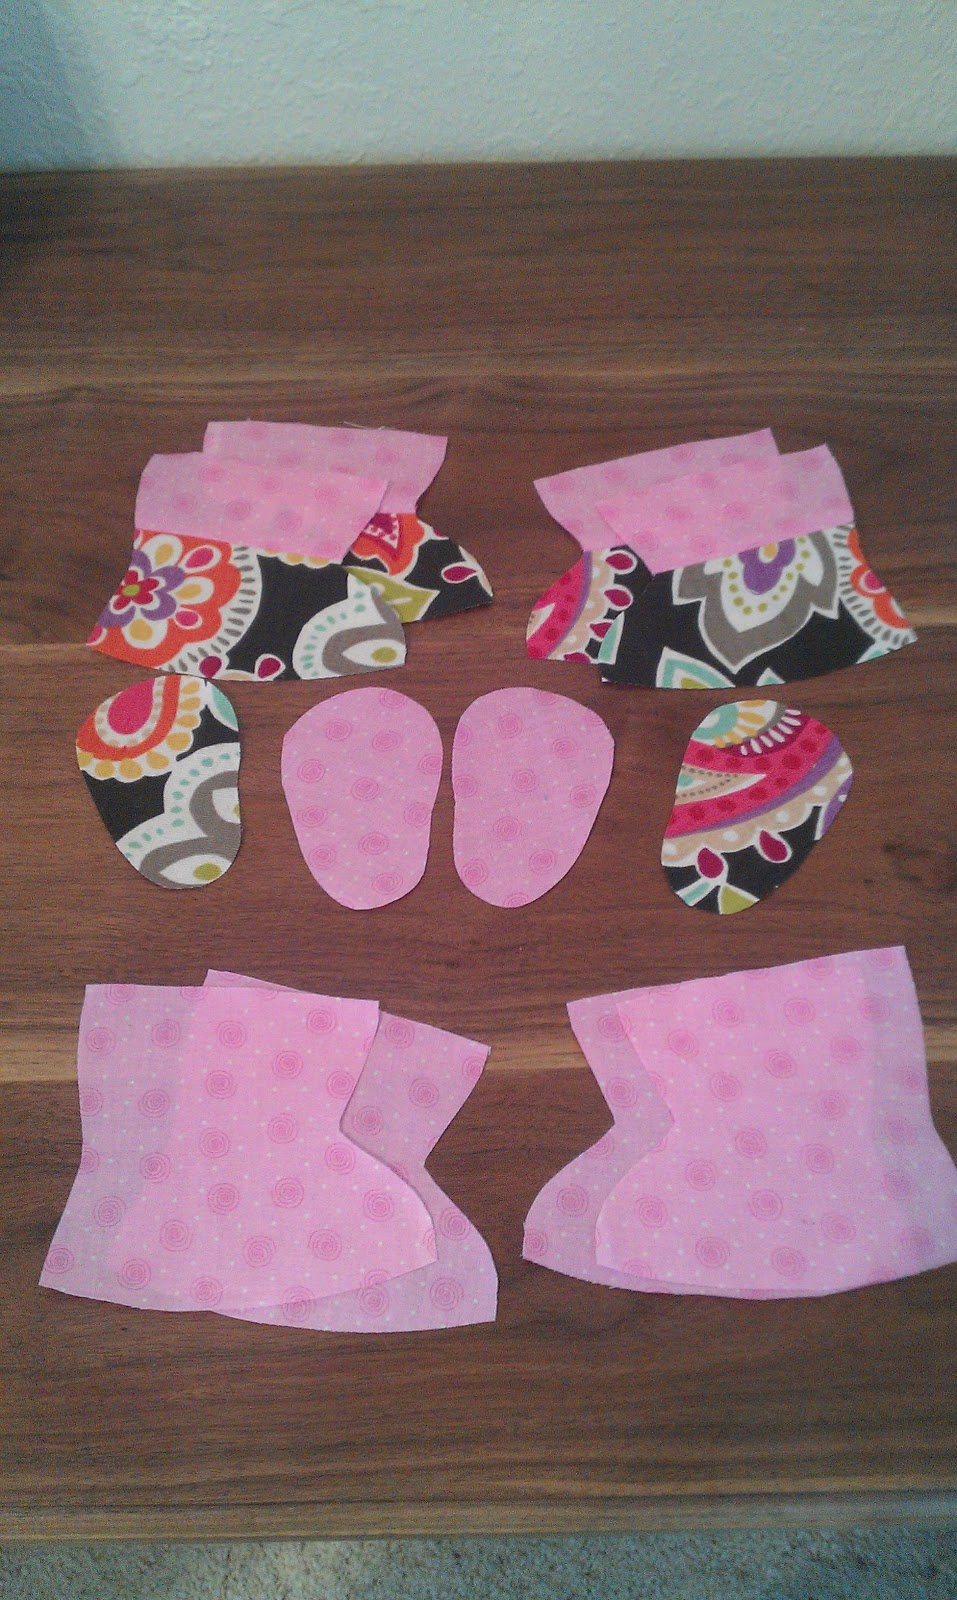
1. Cut out pattern pieces. (A,B,C)
2. Pin shoe top pieces right sides together. (You will have two of the larger and two of the smaller) (B,C)
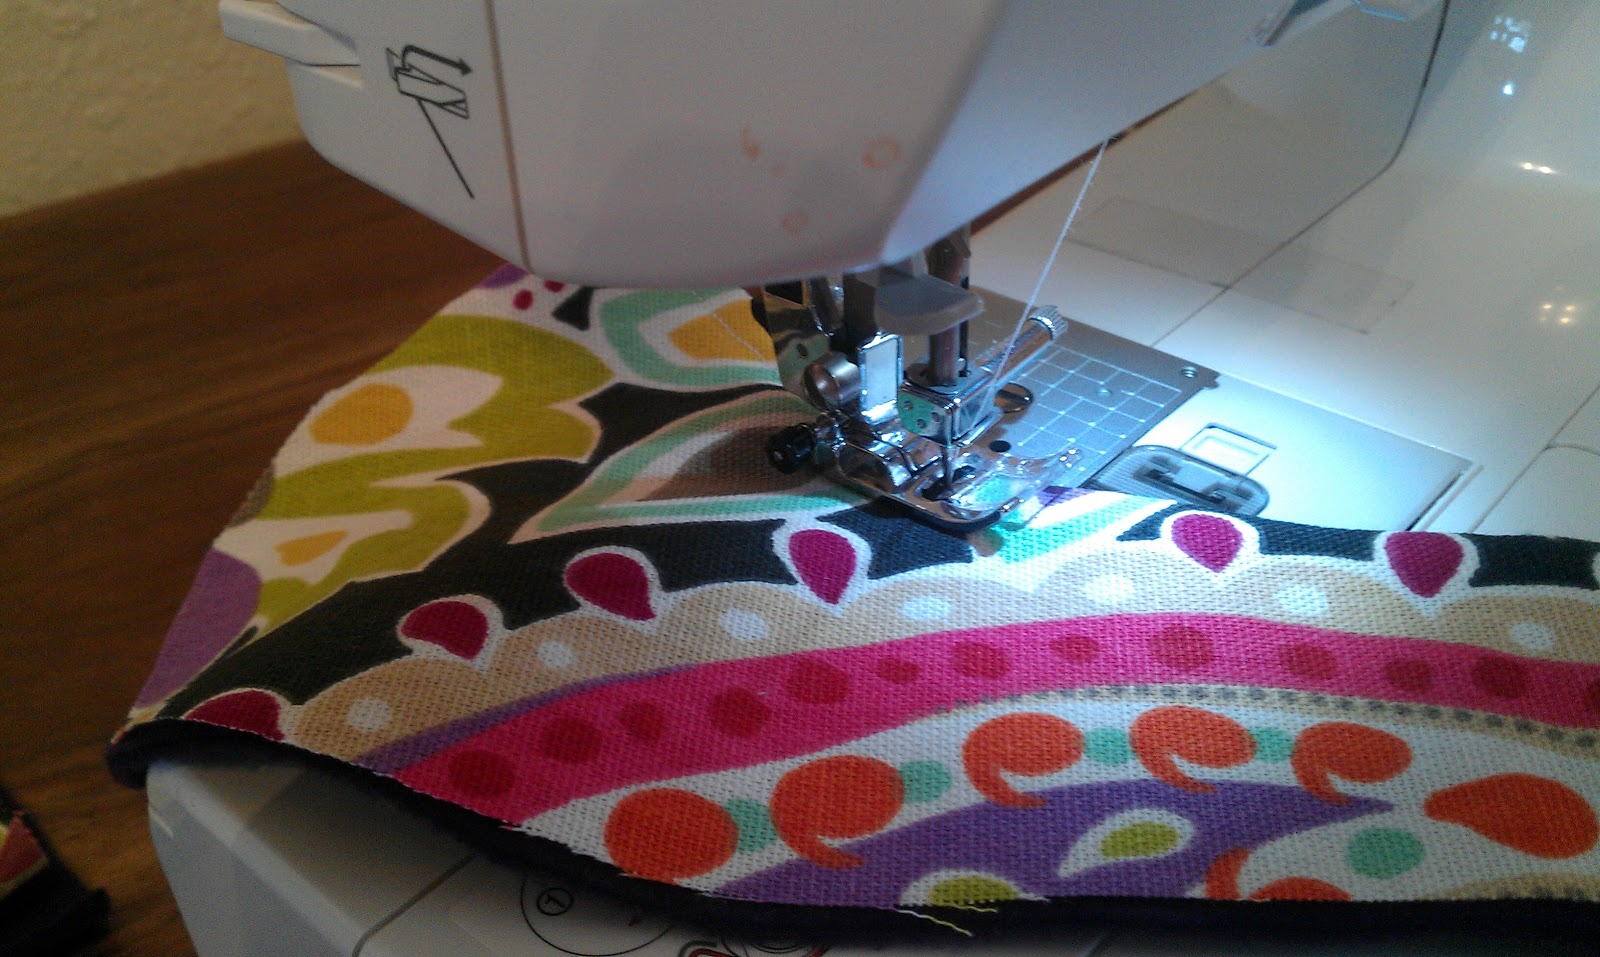
3. Sew only on the side with the concave curve. (B,C) {SEAM ALLOWANCE: 1/2 in}
4. Clip corners. (B,C)

5. Iron right side out. (B,C)
6. Pin together the straight edges. (One big and one small) (B,C)
7. And sew. (B,C)

8. {OPTIONAL} Sew around stitched edge to create a finished look. (B,C) {SEAM ALLOWANCE: your preference (I think I used 3/8 in)}
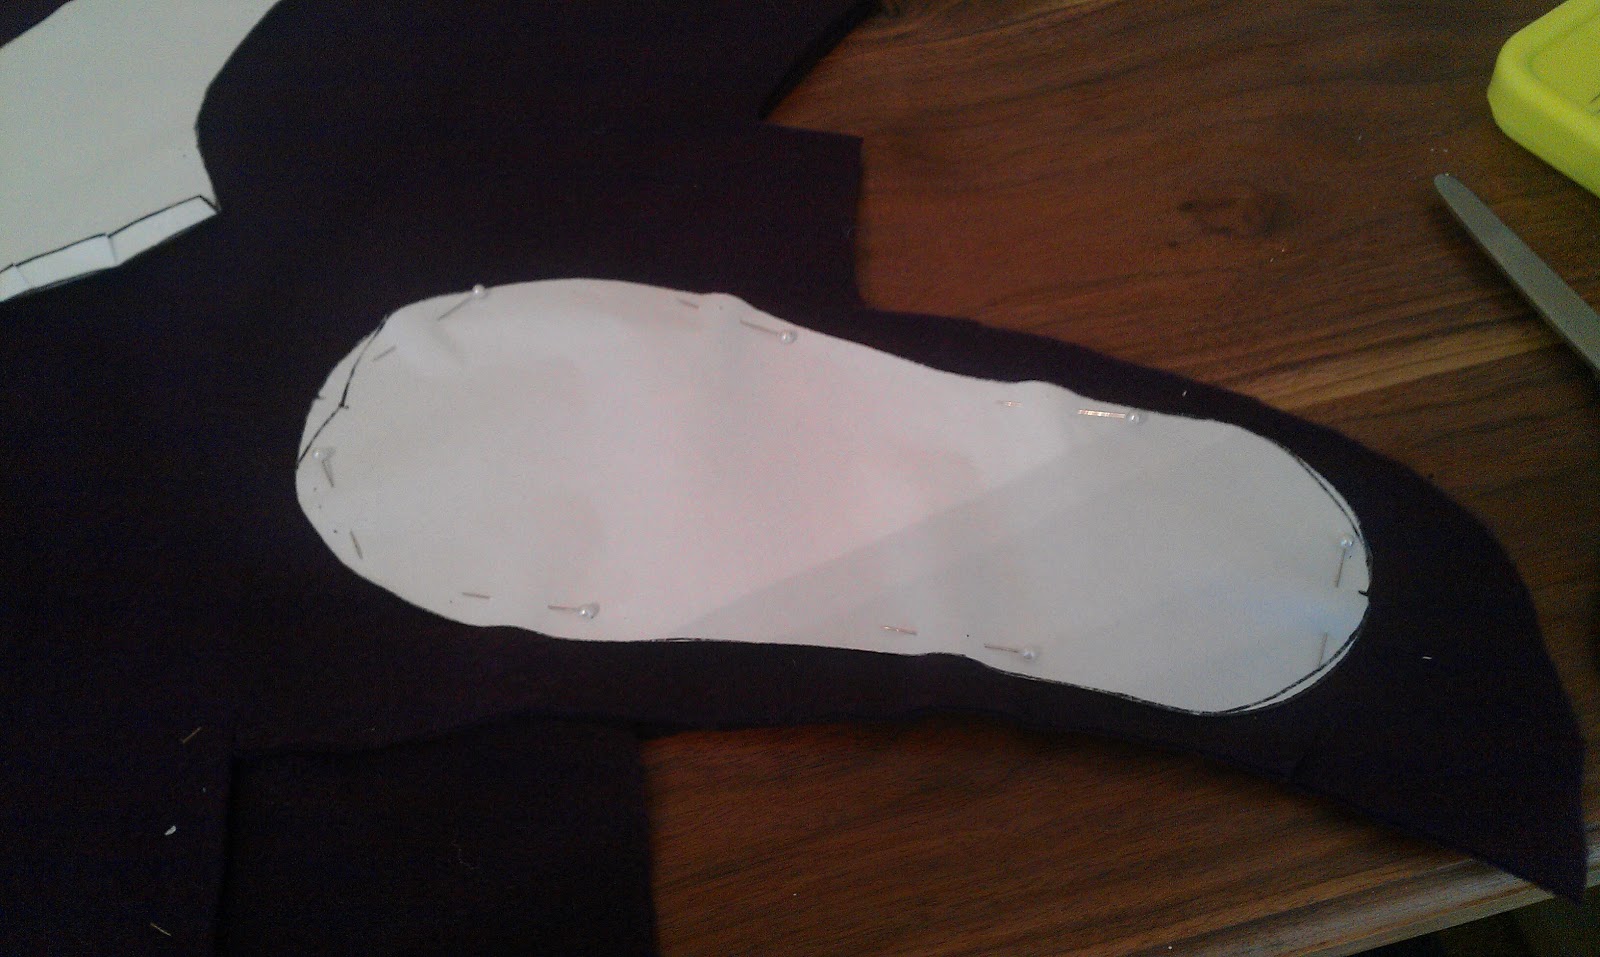
9. Pin inner material piece A to Piece B/C right sides together, matching back seam with red triangle. (A,B,C)
10. Sew from blue dot to blue dot. (A,B,C) {SEAM ALLOWANCE: 5/8 in}
11. Pin outer material piece A to Piece B/C right sides together, matching back seam with red triangle. (A,B,C)
12. Sew from blue dot to blue dot. (A,B,C) {SEAM ALLOWANCE: 1/2 in}
(should look like a tulip when you open it up)
13. Turn right side out. (A,B,C)
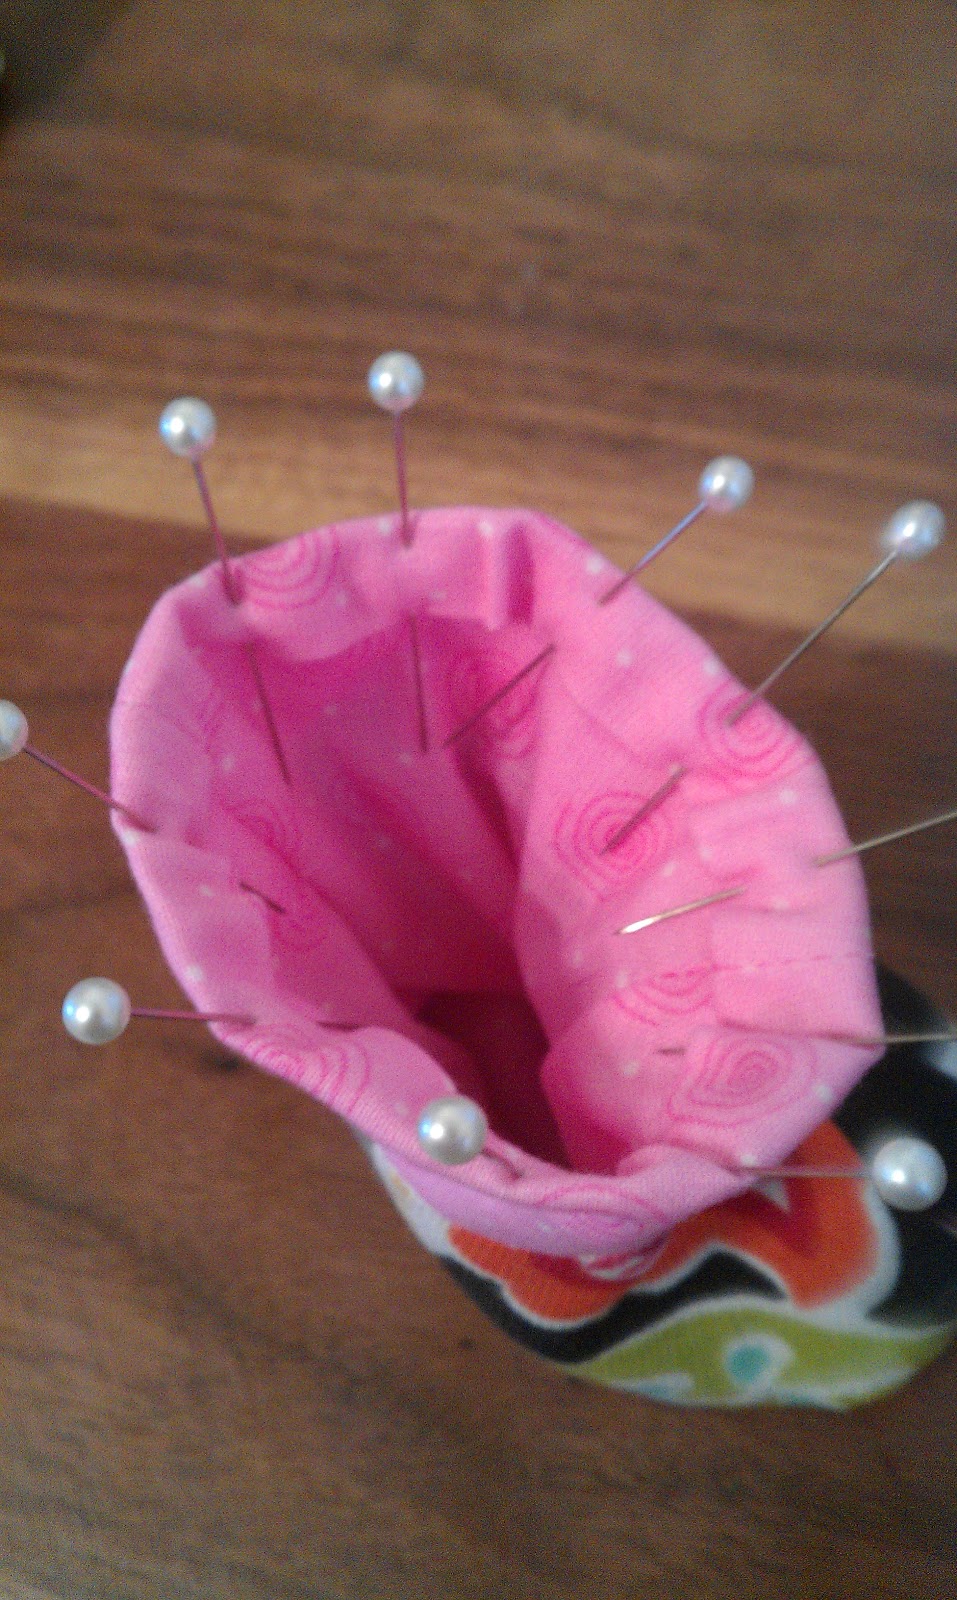
14. Pin inner and outer piece C to inner piece A. (You may have to work at it to get it lined up properly) (A,C)
15. Sew from as close to blue dot as you can get to edge of piece C. (A,C) {SEAM ALLOWANCE: 5/8 in}
16. Pin inner and outer piece B to outer piece A. (A,B)
17. And sew. (A,B) {SEAM ALLOWANCE: 1/2 in}
What it should look like.
18. Turn inside out.

19. Sew about two inches on each side. From blue dot to past piece B/C, matching seams. (make sure to sew all parts that are not sewed yet)
20. Finish the seams by using a zig-zag stitch or serger. Trim.

21. Turn right side out.
22. To finish, pin and sew together toe pieces lining up seams and zig-zagging or serging. Trim.
Finished Shoe!


You can decorate and cutomize. Some examples:
I added tags to the back and puffy paint to the bottoms to make them non-slip.


Shoes on!


